
DIY Biped Robot Kit: 3 Build Routes Compared (2026)
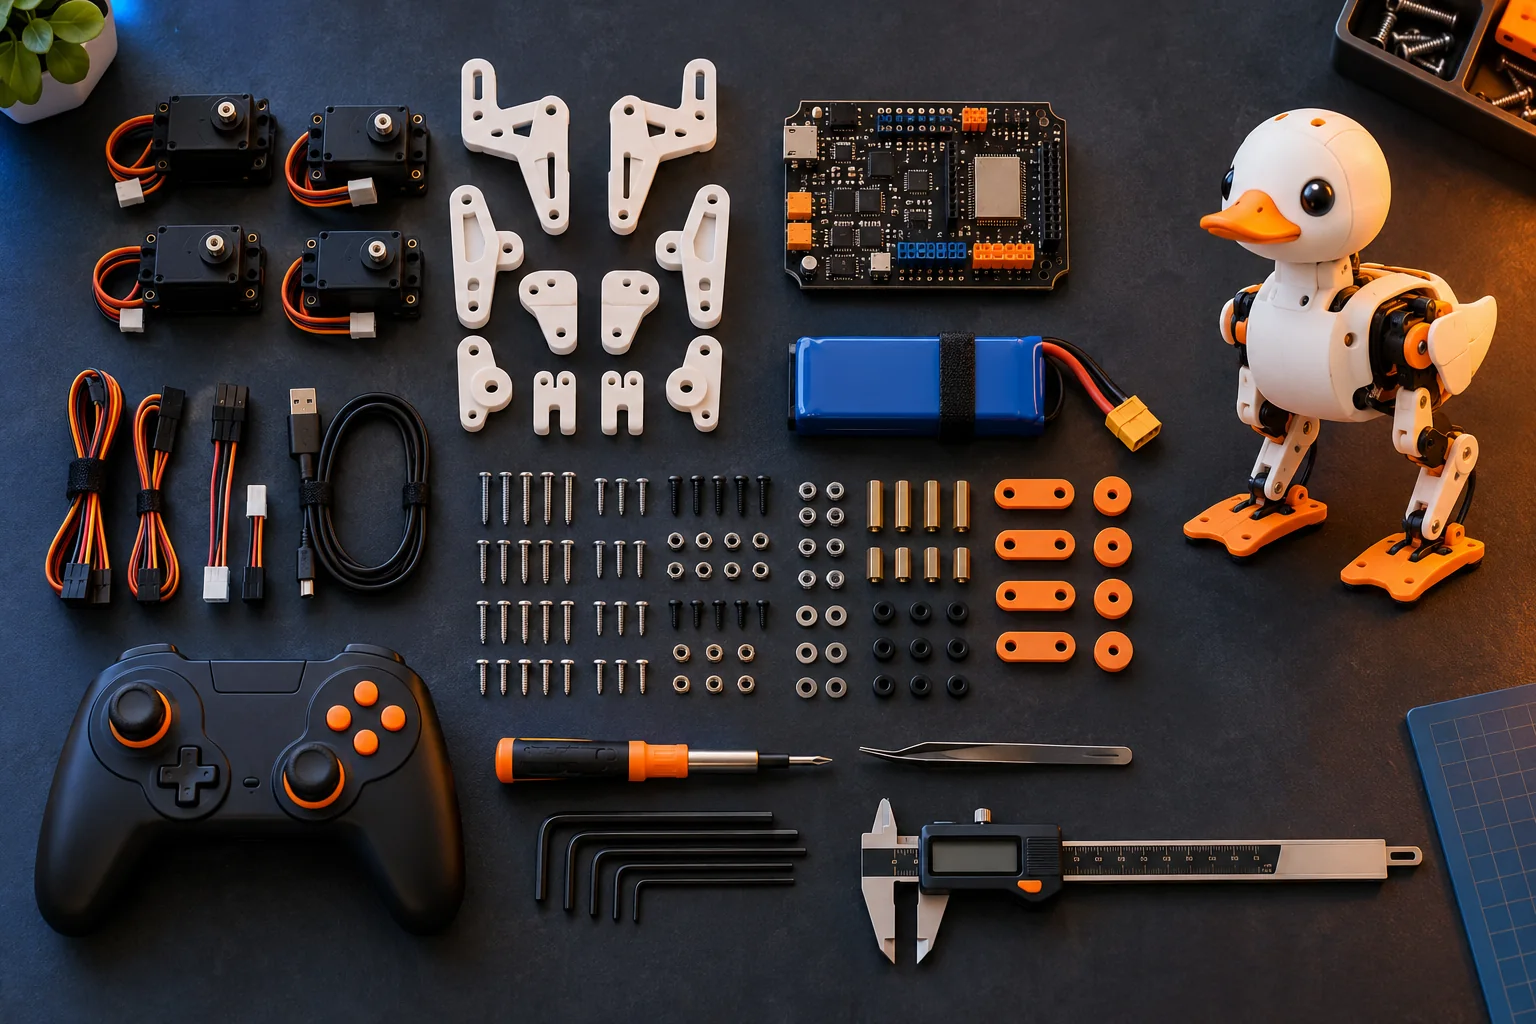
There is no universal DIY biped robot kit that suits every builder. For a complete print-and-build project, choose Open Duck Mini v2. For an assembled robot you can modify through software, choose Microduck. For a conventional humanoid kit with a higher price and a more appliance-like platform, consider Hiwonder TonyPi.
This comparison is written by the team behind Microduck, so the conflict of interest is explicit. The recommendations are segmented by the job rather than pretending one robot wins every category.
DIY biped robot kits at a glance
The first decision is not which brand is best. It is whether “DIY” means printing and assembling the mechanism, modifying an assembled robot, or programming a ready-made humanoid kit.
| Route | What arrives | Best for | Main trade-off |
|---|---|---|---|
| Open Duck Mini v2 | CAD, BOM, print, assembly and runtime resources to source yourself | Full mechanical and software ownership | Long build and calibration project |
| Microduck | Assembled 25 cm biped with open software and RL stack | Policy work and software-led modification | Complete hardware manufacturing files are not public |
| Hiwonder TonyPi | Product kit or assembled configuration, depending on seller options | Humanoid gestures, vision demos and conventional kit support | Higher price and less open policy workflow |
Prices were checked on 1 November 2026. Taxes, shipping, tools and optional components are separate unless stated.
How did we compare these DIY robot routes?
We compared what each route actually delivers, not how many parts its marketing page lists. The criteria were assembly burden, completeness, software access, simulation and policy workflow, hardware openness, expansion, support and total project cost.
This is a documentation-based buying guide. It is not a controlled test of whether one biped balances better than another. Build quality, calibration and the specific task can outweigh the platform choice.
Which route is best for a first biped build?
Microduck is the lowest-risk starting point when the goal is to learn policies on a working biped. It arrives assembled and calibrated, with seven trained moves, a Python SDK, simulator and public reinforcement-learning workflow.
Microduck facts that matter to a builder:
- 25 cm tall and roughly 800 g;
- 15 motors, a camera, LiDAR and two IMUs;
- a 50 Hz policy loop on an onboard Rockchip RK3566-class computer;
- Apache-2.0 software, simulator and training code;
- $399 before taxes and shipping.
It is not a traditional parts kit. It is an assembled platform that removes the procurement and calibration barrier so you can work on the software and policies. Its DIY guide explains the modification boundary, and the Python SDK page shows where programming begins.
Best for: someone whose project is reinforcement learning, Python, sensing or interaction and who wants a known-good walking baseline.
Which kit is best for a complete 3D-printed build?
Open Duck Mini v2 is the complete open build route. Its repository links CAD, a BOM spreadsheet, print and assembly guides, an embedded runtime and separate MuJoCo training work.
The official BOM target is below $400, while the finished project is roughly 42 cm with its legs extended and uses a Raspberry Pi Zero 2W runtime path. The target excludes printer time, failed prints, tools, delivery, tax and the hours required to calibrate the robot.
Choose it when the body itself is part of the lesson. You can inspect and change link geometry, source actuators, print replacement parts and work through the same runtime and sim-to-real stack.
Best for: patient makers and research teams who want a full mechanical, electronic, software and training project.
Use the Open Duck Mini build-cost guide before buying parts. Its BOM target is not a delivered-project quote.
Which route is best for a conventional humanoid kit?
Hiwonder TonyPi is a ready-made humanoid platform with Raspberry Pi configurations, vision and gesture demonstrations. It is easier to present as a conventional kit than Open Duck Mini v2, but it is not the same open policy-training stack as Microduck.
The Hiwonder US product page listed $599.99 to $869.99 depending on configuration when checked on 1 November 2026. Verify the current bundle before ordering because the included Raspberry Pi model, servos and accessories can change.
Best for: buyers who value a humanoid form, packaged demos and a conventional product ecosystem more than an open locomotion-training workflow.
The direct Microduck vs TonyPi comparison covers the different programming and openness trade-offs.
What should you check before buying any biped kit?
Check the exact revision and what is included, because “kit” can mean anything from a complete robot to a box of brackets. The decisive facts are the actuator count, controller, battery, charger, assembly state and software licence.
Use this checklist:
- Definition of kit: parts, partial assembly or finished robot?
- Revision: does the BOM match the printable files and firmware?
- Actuators: exact model, spares and replacement availability.
- Control: onboard or host-connected, and at what loop rate?
- Software: can you inspect the runtime and train policies?
- Simulation: does a matching robot model exist?
- Calibration: who performs it, and with what procedure?
- Support: product support, community support or both?
- Safety: limits, emergency stop and safe first-test procedure.
- Total cost: tools, print failures, shipping, tax and spare parts.
Which DIY biped robot should you choose?
Choose by the work you want to own:
- Choose Microduck to start with an assembled robot and spend the project on Python, RL and policy evaluation.
- Choose Open Duck Mini v2 to own printing, sourcing, assembly, calibration and the full open stack.
- Choose TonyPi when a conventional humanoid product kit and packaged demos matter more than open policy work.
If you only want a finished desk robot, none of the DIY routes is automatically the cheapest. Compare the Microduck buyer guide and best biped robots before treating assembly as a discount.
DIY biped robot kit FAQ
What is the best DIY biped robot kit? Open Duck Mini v2 is the strongest complete open build; Microduck is better when you want an assembled platform with open software; TonyPi is the conventional ready-made humanoid route.
Is Microduck a kit? No. It is an assembled robot with an open software and training stack that can be modified.
Is Open Duck Mini v2 cheaper than Microduck? The BOM target is below $400 and Microduck is $399 assembled, but the Open Duck target excludes printing, tools, spares, shipping, tax and labour.
Do I need a 3D printer? For Open Duck Mini v2, you need access to a printer or print service. Microduck and TonyPi do not require you to print the robot body.
Which kit supports reinforcement learning? Microduck publishes its RL environments and policy deployment workflow. Open Duck has a community MuJoCo and sim-to-real path. TonyPi is primarily a product programming platform.
Which is easiest for a school? Compare supervision, lesson plans and replacement parts. Microduck offers a zero-setup browser simulator; TonyPi offers a conventional humanoid presentation.
Key takeaways
- “Kit” describes very different levels of completeness.
- Open Duck Mini v2 is the full open build route.
- Microduck shortens the path to an assembled RL-capable robot.
- TonyPi is the higher-priced conventional humanoid option.
- Budget the complete project, not only the BOM or sticker price.
Where to go next
- Open source biped robot - understand what each project publishes
- 3D printed biped robot - from files to a working mechanism
- How to build a biped robot - engineering sequence
- Microduck robot - what the assembled platform includes
- Best biped robots - broader product comparison
- Microduck vs Open Duck Mini - buy or build